### [关于微信小程序实现顶部选项卡(swiper)的介绍](https://www.prosaas.cn/article/17290)
**Published:** 2018-06-27T06:13:40
**Author:** 5201314
**Excerpt:** 这篇文章主要为大家详细介绍了微信小程序实现顶部选项卡效果,具有一定的参考价值,感兴趣的小伙伴们可以参考一下微信…
这篇文章主要为大家详细介绍了微信小程序实现顶部选项卡效果,具有一定的参考价值,感兴趣的小伙伴们可以参考一下
微信小程序顶部选项卡在开发中是非常常用的,下面用一点时间实现了一下。
效果图:
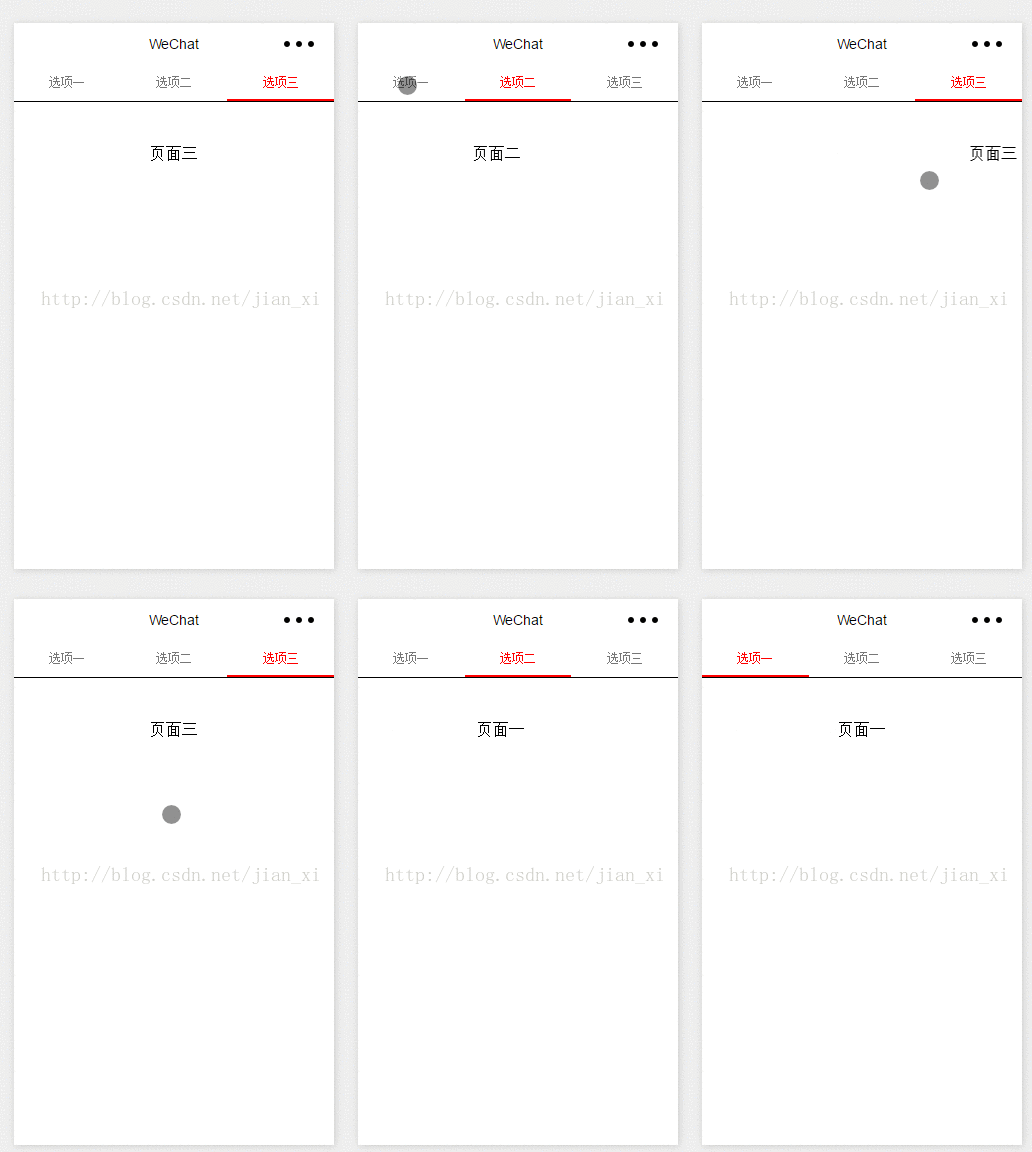
下面直接上代码:
wxml:
选项一
选项二
选项三
页面一
页面二
页面三
wxss:
/\* pages/index/index.wxss \*/
.swiper-tab{
width: 100%;
text-align: center;
line-height: 80rpx;
border-bottom: 1px solid #000;
display: flex;
flex-direction: row;
justify-content: center;
}
.tab-item{
flex: 1;
font-size: 30rpx;
display: inline-block;
color: #777777;
}
.on{
color: red;
border-bottom: 5rpx solid red;
}
.swiper{ display: block; height: 100%; width: 100%; overflow: hidden; }
.swiper view{
text-align: center;
padding-top: 100rpx;
}
js:
// pages/index/index.js
Page({
/\*\*
\* 页面的初始数据
\*/
data: {
winWidth:0,
winHeight:0,
currentTab:0
},
/\*\*
\* 生命周期函数--监听页面加载
\*/
onLoad: function (options) {
var that = this;
/\*\*
\* 获取系统信息
\*/
wx.getSystemInfo({
success: function (res) {
that.setData({
winWidth: res.windowWidth,
winHeight: res.windowHeight
});
}
});
},
bindChange: function (e) {
var that = this;
that.setData({ currentTab: e.detail.current });
},
swichNav: function (e) {
var that = this;
if (this.data.currentTab === e.target.dataset.current) {
return false;
} else {
that.setData({
currentTab: e.target.dataset.current
})
}
} ,
/\*\*
\* 页面相关事件处理函数--监听用户下拉动作
\*/
onPullDownRefresh: function () {
},
/\*\*
\* 页面上拉触底事件的处理函数
\*/
onReachBottom: function () {
},
/\*\*
\* 用户点击右上角分享
\*/
onShareAppMessage: function () {
}
})
以上是实现过程,总体上没什么难度。可以参考参考。
以上就是本文的全部内容,希望对大家的学习有所帮助,更多相关内容请关注PHP中文网!
相关推荐:
微信小程序实现导航栏选项卡的效果
微信小程序商城中侧栏分类的效果实现
微信小程序中选项卡的例子
以上就是关于微信小程序实现顶部选项卡(swiper)的介绍的详细内容,更多请关注知企PROSAAS其它相关文章!
**Categories:** 后端开发
---